Do you know How To Take Shoe Pictures? This blog is for you. Read at Cut Out Image.
Photography is an artform, application, and method of creating images that last for a long time. It has been utilized as a storytelling tool. It is easy to be interested in various things when we look at a picture. We are moving to a new era for our shopping habits, particularly for personal items in the modern age. Shoes are among the things that we can choose to purchase. If you’re an online retailer selling shoes, this article will help you master the art of shoe photography and to reach out to more potential customers.
Shoes Photography Ideas
Creativity is the primary and most important thing you must possess to think out of the ordinary. With the proper knowledge of retouching and photography, you will be able to hit the ground running with your tools. Why should you wait? Let’s learn how to take photos of shoes step-by-step and take the best images of shoes for more significant sales.
- Choose the right product for photography of shoes; you must first decide which pair of shoes you’ll select for your photography. Clean your shoes with brushes or clothing. If you clean your shoes before taking pictures, it will aid in saving time and produce a striking photograph.
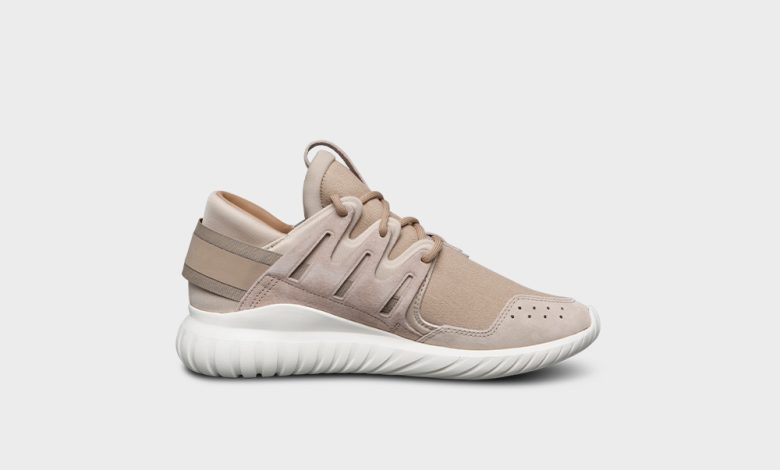
- Choose a suitable backdrop: A backdrop can transform an image from being uninteresting to breathtaking. Simple plain and white backgrounds are ideal for shoe photography as they can help visualize the shape, colour, and other aspects correctly.
- Make sure you have the proper lighting: Poor lighting won’t see the shoe’s features correctly. Therefore, it would be best to have an even and perfect lighting setup for the best shoe photo. A flash or Speedlight is the ideal solution for lighting every photography. Don’t use direct sunlight.
- Model of Use: Customers would like the best shoes for their feet; it reflects their character in some instances. This is why employing models is more effective than taking pictures of the item only. For example, famous musicians or emerging stars could be models. When taking photos, it is best to focus on your legs and attempt to capture various poses such as dancing, walking, jumping and travelling, among others.
- Present Different Angles: If you cannot capture only from one angle, you can attempt to capture from different angles such as the front and back, top, bottom, and the other sides. These views of angels are essential for online pages as the user can make a purchase decision from the perspective. Glass or any movement to record the lower or the downside of the shoes. You could also employ the Floating shoe photography method; however, it is necessary to use a plan before its implementation to make it easier to see.
- Imagine the unique design: It combines the best of quality, colour, shape and design. Along with the high-end and comfort, customers nowadays are looking for new designs. Don’t forget to showcase the patterns that will draw more attention from your customers. Make sure to focus on distinctive designs, materials, laces, and other aspects of letting the customer believe that it’s the item they’ve been searching for.
- Retouch the Photo: Once you’ve completed the previous steps, you’re the final, complicated step. If you don’t retouch your Photo, you cannot think that your photograph will be noticed. If you are selling offline or online, the post-photography work will be required to impress the buyer. It is essential to have a creative mind for the post-photography job to get the desired results. Cut Out Image, Inc. provides this type of service related to photography.
If you’re looking to generate an impressive profit from the shoe industry, then you have to invest in cutting or editing photos. Why are you waiting? Let’s go through the steps for editing the Photo and the Photo clipping route.
Photo Editing
There are several fundamental steps to edit the image below, with a suitable description.
- Choose the Image First step is to choose the image to undergo editing.
- Clean and crop the Photo. After selecting the Photo, it’s time to cut out the unneeded part of the picture. Concentrate on the main subject and cut out unnecessary things. Then, clean the image. Take out all spots from the image.
- Adjust the brightness and contrast Examine the contrast and brightness of the image. Adjust the balance to get a better idea.
- Make sure you balance the colour and saturation. In addition, saturation helps the photos appear appealing by preserving the colour’s intensity. You can balance saturation to increase the hue of the Photo.
- Enhance the Photo: With the scale from between 0 and 100 tones, Sharpen the image. Sharpening the picture makes it easier to read. To get an excellent appearance, it is possible to start at 50% and increase it by +/-.
Clipping Path
Various clipping paths, including Basic Simple, Compound-Complex and Super complicated. Some
Follow the below instructions for cutting Path or get the services via the company Cut Out Image:
- Choose your Pen tool to create an outline of the image area
- Select the triangle on the top right of the screen to save Path from the menu on the panel.
- Rename the Path
- Choose the Clipping Path from the menu on the right side of the panel
- Choose your Path from the drop-down menu from the Clipping Paths dialogue box.
- Set the flatness to the highest value.
- Select File- Save As
- Select Photoshop Adobe Photoshop EPS in the Format drop-down list.
- Accept the defaults from the Photoshop dialogue box. Then click OK.