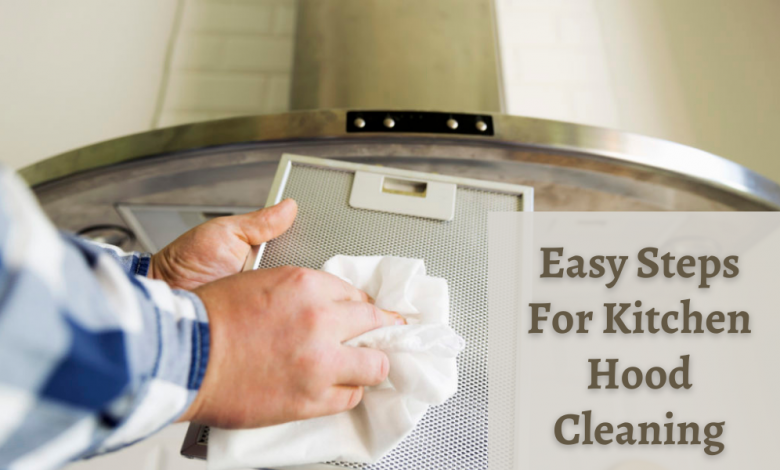
Easy Steps For Kitchen Hood Cleaning

Is your kitchen exhaust looking greasy and dirty?
If yes, it’s probably high time to consider cleaning it. The kitchen exhaust is a heavy lifting system that helps homeowners in keeping the kitchen clean. These systems absorb odours and throw them outside to maintain the airflow. A fixed filter available in hoods helps to keep the air maintained and clean. Designed to trap grease and dirt, these filters maintain the operation of kitchen hood systems.
However, kitchen hood cleaning or kitchen exhaust cleaning brisbane is necessary for removing accumulated dust particles and grease from ducts, fans, hoods, and vents. Avoid cleaning your kitchen exhaust system regularly let accumulating the grease inside the systems, which further pose intense fire risks. That’s why, in every commercial cooking establishment across the world, cleaning is imperative to improve the air quality of a kitchen and keep cooking and baking healthy.
Without dragging further, let’s find out how to clean the kitchen hood with easy steps!
Table of Content
Kitchen Hood Cleaning – Simple Steps to Follow
Step 1: Locate and Remove Kitchen Hood Filter
Step 2: Choose a Convenient Method
Step 3: Prepare a Cleaning Solution
Step 4: Move Towards the Cleaning Process
Step 5: Brush Up and Clean the Filter
Step 6: Dry the Filters
Step 7: Re-install The Filter
Wrapping Up!
Kitchen Hood Cleaning – Simple Steps to Follow
Step 1: Locate and Remove Kitchen Hood Filter
Every kitchen exhaust system contains a filter. However, before removing the filter, make sure to unplug the exhaust fan. It prevents you from electric surges while you’re touching the fan and removing the filter. Once you unplug the filter, it becomes easy to separate the filter from the hood. In fact, the most exhaust hood contains the filter on the underside of the hood, depending on the filter. To remove the filter, unhook the tabs or simply grab it from handles to pull it gently. If you aren’t sure about the procedure of removing a hood filter, it’s time to consider the owner’s manual.
Step 2: Choose a Convenient Method
If you’ve never cleaned your hood before, it’s more likely recommended to replace it with a new one. So, check your filter thoroughly to discover if it’s completely clogged and greasy. In such scenarios, there are two major things you can consider – hood filter replacement or regular cleaning.
Step 3: Prepare a Cleaning Solution
If you’re thinking about cleaning the filters, it’s time to take a further step. For removing the hard and greasy parts from the filters, you need to prepare a kitchen exhaust cleaning solution in a large container. But, to prepare a cleaning solution, you need to mix baking soda and dish soap together in a large container of boiled water. These two components are excellent for removing hard greasy parts and dust accumulated on filters. Generally, the filter cleaning solutions are non-toxic. So, you don’t have to worry about the negative effects of chemicals.
Step 4: Move Towards the Cleaning Process
Once you become successful in removing the hood’s filter and preparing the cleaning solution, it’s time to take a further step for commencing the cleaning process. So, gently place the filter in a large pan or container that also contains the cleaning solution. Approximately, take 1 cup of cleaning solution and pour it into the pan or container holding the filter. But, make sure the container is large and deep enough to completely sink the filters in it from all sides.
Step 5: Brush Up and Clean the Filter
Now, it’s time to clean the filter thoroughly. If your filters aren’t completely submerged into the container or pan, add more kitchen exhaust cleaning solutions to remove the harmful debris and dust. Let the filters sit for 15 to 30 minutes to let the cleaning solution dissolve as much lubricant and smudge as possible. Now, brush up the filter with a sponge or bristle scrub. It helps in removing the grease easily. If it doesn’t, you need to let the filters sit in the cleaning solution for a longer time. If you successfully clean the filter, rinse it with hot water for eliminating the greasy deposits and cleaning solution.
Step 6: Dry the Filters
Next, take a soft cotton cloth or towel to dry it completely. Make sure all moisture has been removed before installing the filters. For this, you can gently damp the sponge or cloth to remove grease stains. Excessive leftover moisture can cause electrical issues in the inner components. This further will affect the durability of the exhaust fan.
Step 7: Re-install The Filter
Once you’ve done the cleaning process, it’s time to re-install the filter. So, follow the simple steps to put it back in the same way you remove it. However, ensure you re-hook the latches and secure them properly. Now, plug the unit back in and start using it like before.
Wrapping Up!
These above-mentioned 7 easy and simple steps help in kitchen exhaust cleaning. If you’re still not sure – how to clean your kitchen exhaust, it’s time to turn to professionals. They have the appropriate tools and cleaning solutions to remove the deposited greasy and dusty residues.


